This page provides some documentation to help you use and manage your site. It also contains information on various support options. Additional details are provided towards the bottom of this page.
Only users with administrator privileges who are logged into your site are able to view this page. Keep this page as a reference as long as you like. You can delete it if you no longer need it.
Content and site management:
This tutorial and general information site covers a lot of topics. We’ve included some specific topics that may be particularly helpful below. Please note that much of this information is specific to WordPress.com, but is very similar on WordPress VIP. If you have specific VIP questions, please let us know and we can help more directly.
Note that directions on editing the Policy Sections specifically are further down this page.
- Working with the WordPress.com editor to create or edit content
- Creating and editing posts
- Using tags and categories
- Creating and editing pages
- Posts vs pages: understanding the difference
- Menus
- Managing users and permissions on your site
Required plugins
Many of the features of your site are powered by plugins. You can read more about what plugins are and how to manage them on this support page.
The following plugins are required for the site to perform. Please consult a developer if you want to disable (deactivate) them or uninstall them because it might interfere with the usability of the site.
Advanced Custom Fields PRO – this plugin adds simple UI to the post-administration backend.
GP Premium – adds multiple functionalities to the parent theme.
Optional plugins
The following plugins are not required but are recommended. If you do not want to use these plugins, you can disable (deactivate) them or uninstall them at any time. Please be cautious about disabling or removing other plugins since most of them are required for your site to function as you specified.
Post Types Order – this plugin helps reorder the post using a simple drag and drop interface.
SVG Support – you can upload SVG files to WordPress backend.
Yoast SEO – you can see a list of the SEO features this plugin offers here.
Custom functionality
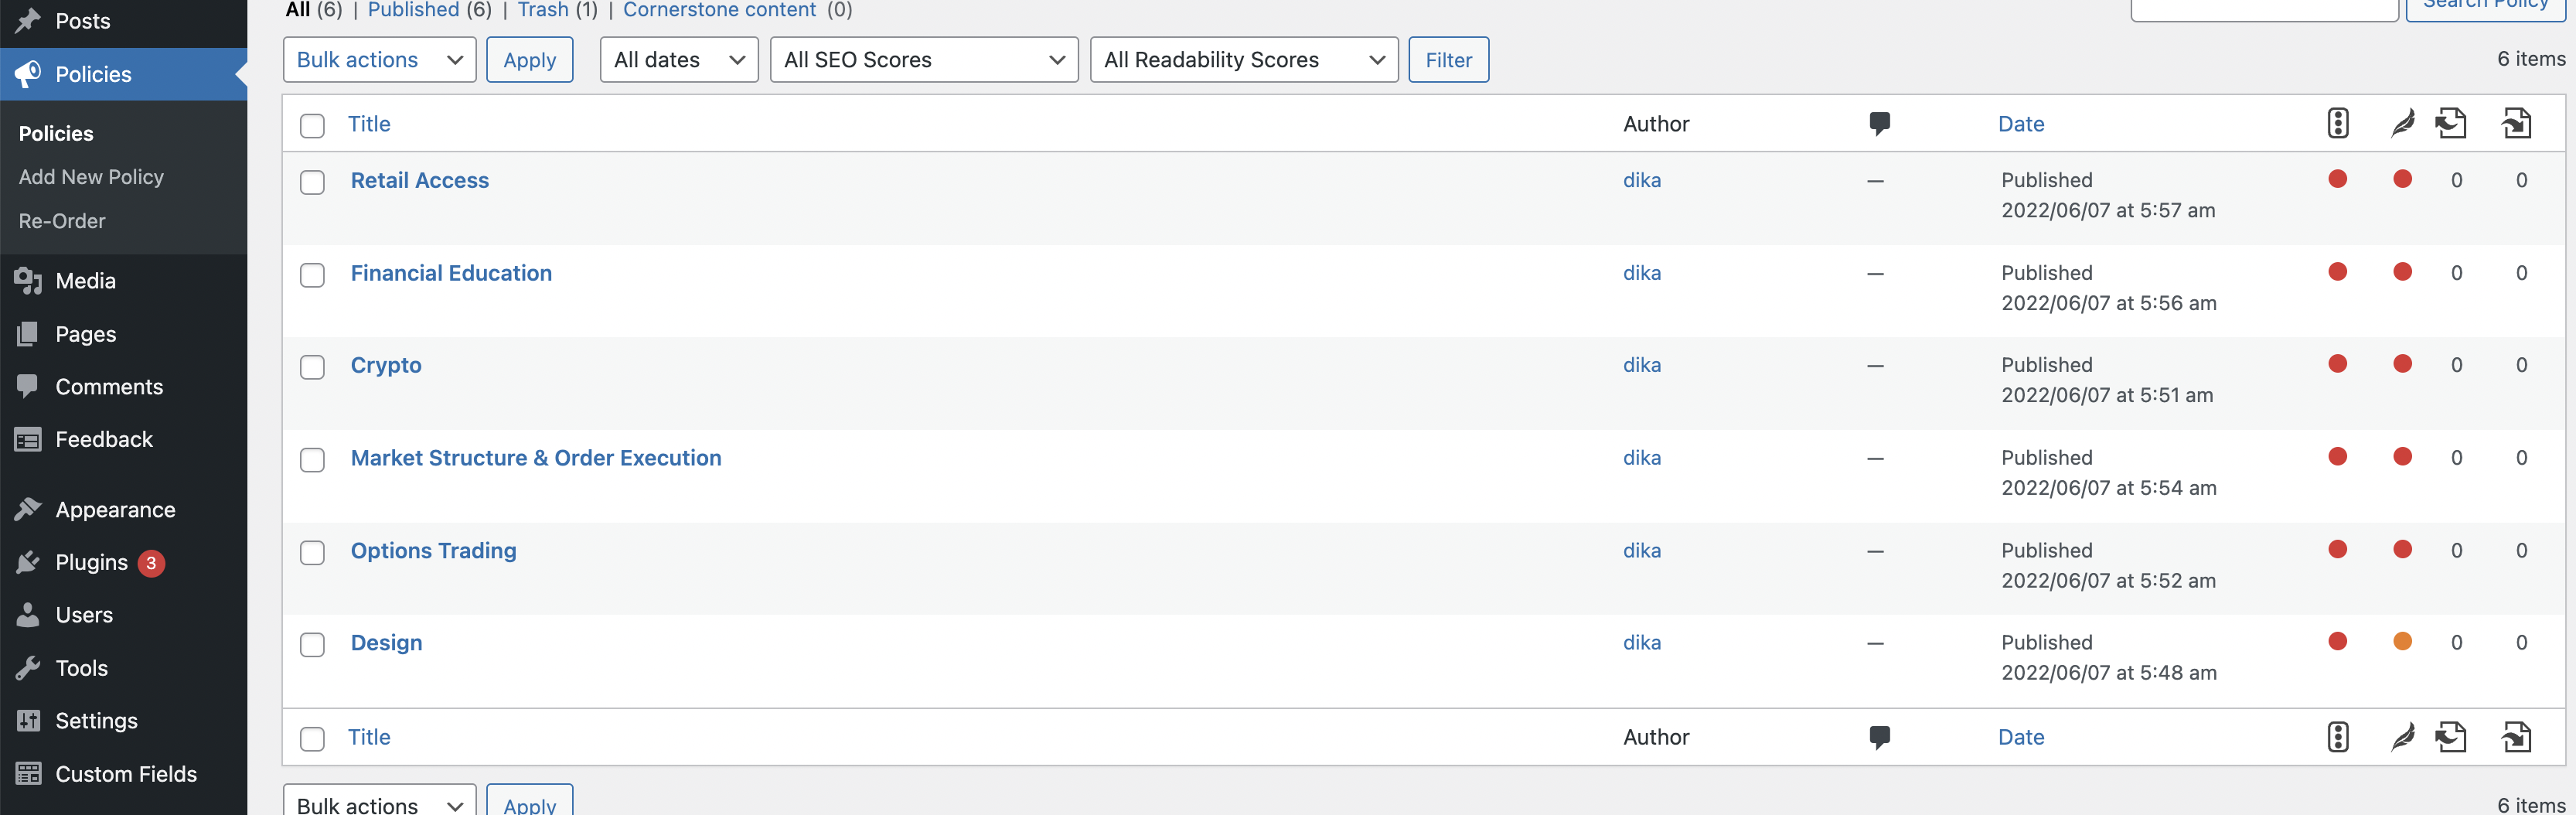
Your site comes with a new Custom Post Type called “Policies”. The administration of policies is very similar to the administration of posts so please make sure you are familiar with creating and editing posts.
There are a few things to know:
- Adding a new Policy will add it directly to the homepage. Clicking each Policy will not open it in a new page but instead will open it directly on the same page.
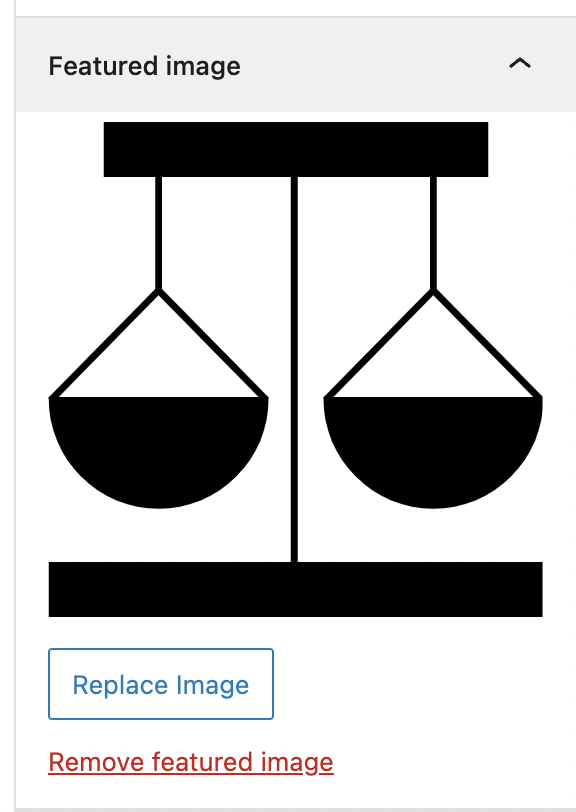
- To add an icon to the policy, use the featured image section on the right side of the edit screen.
- To add new policy resources you can use the format in the ‘”Retail Access” policy as an example: https://policy.aboutrobinhood.com/wp-admin/post.php?post=129&action=edit. In summary:
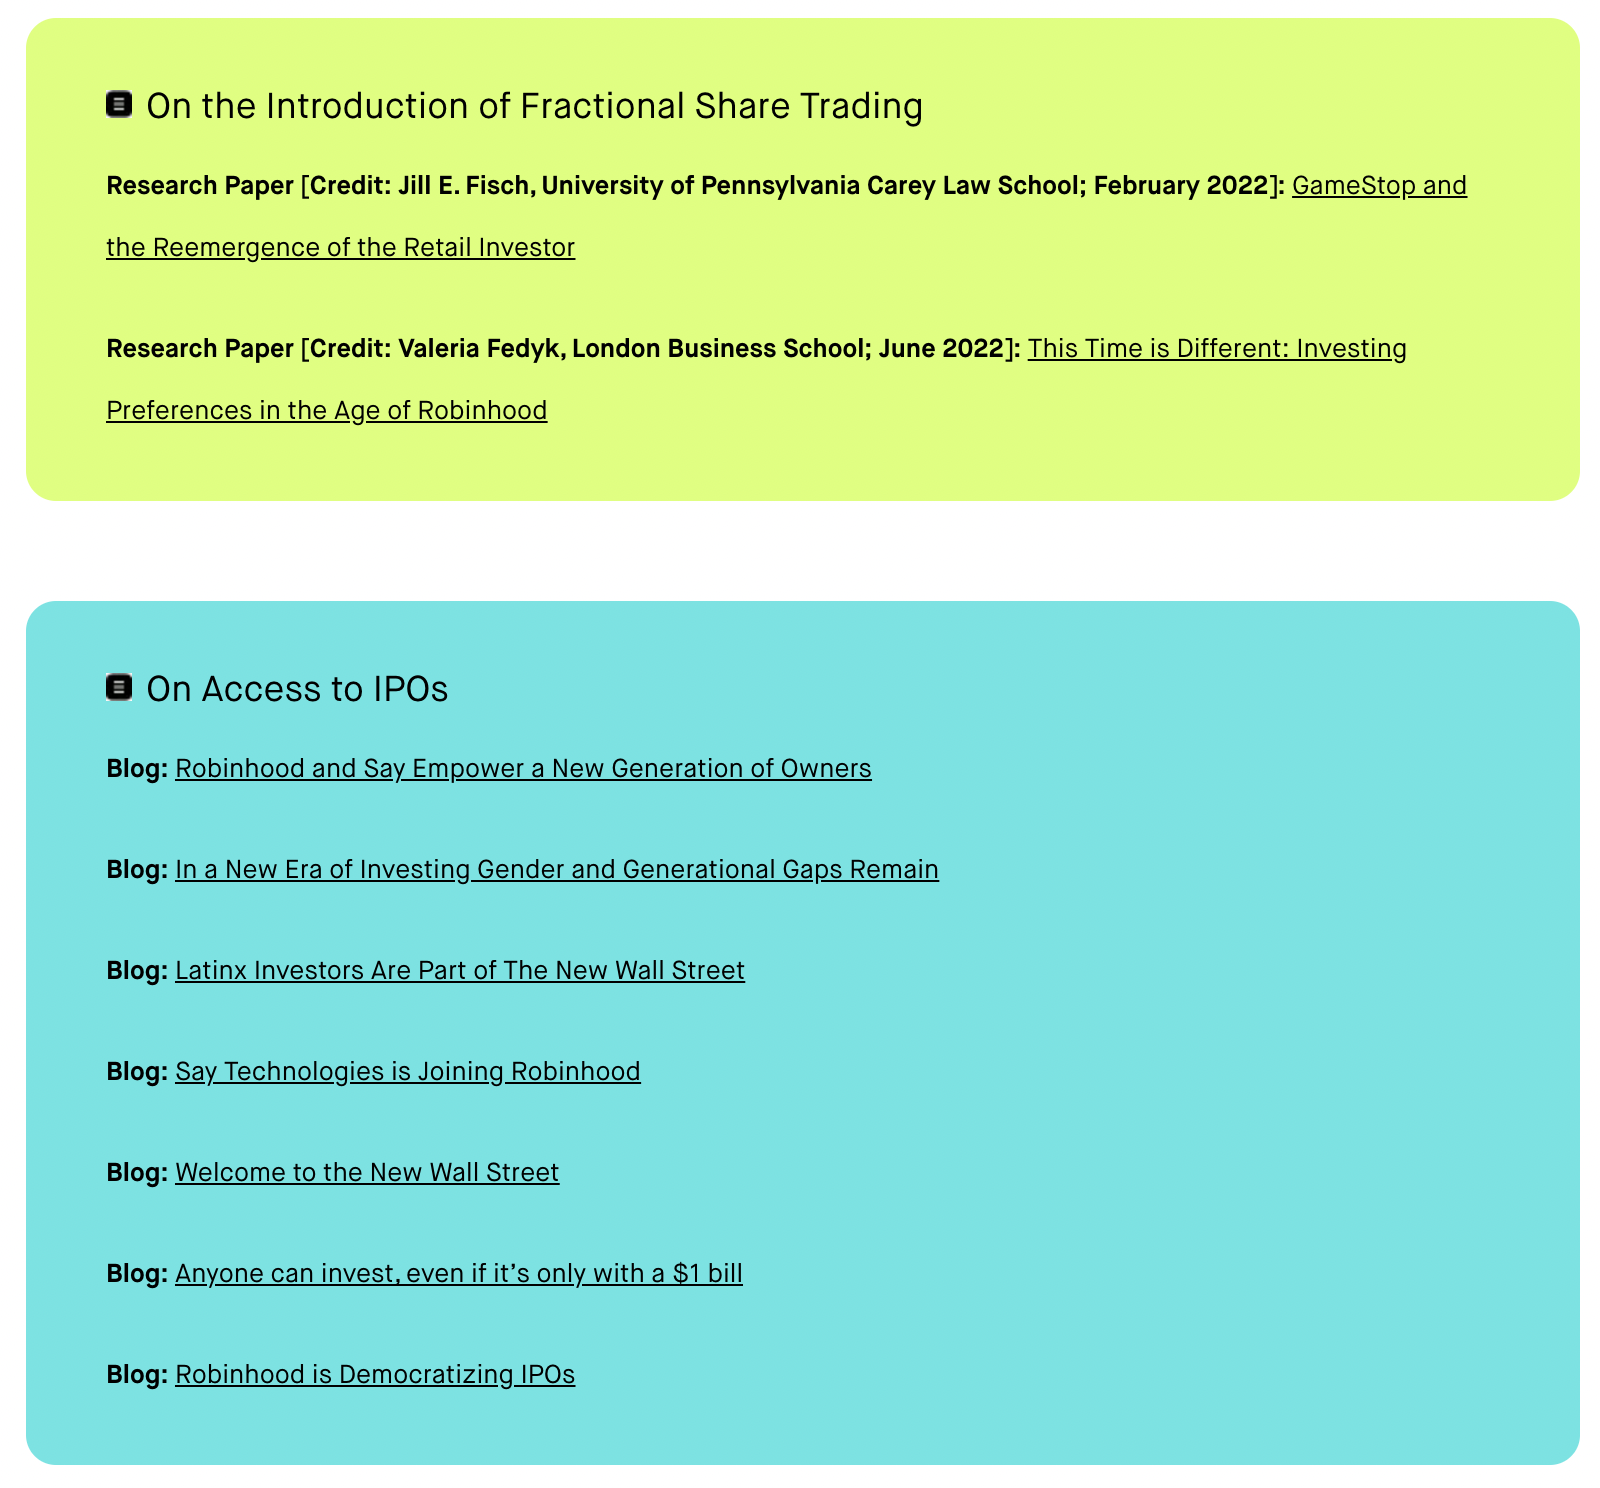
- Find the button “Add Resource Group” at the bottom. Each resource group is responsible for making one resource box. Pictured here are 2 resource boxes.
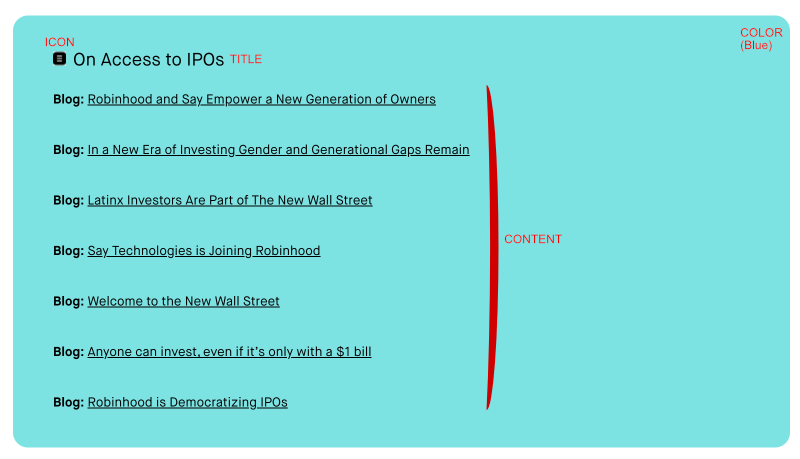
- Each resource box will have the following properties: Title, Icon, Color and Content.
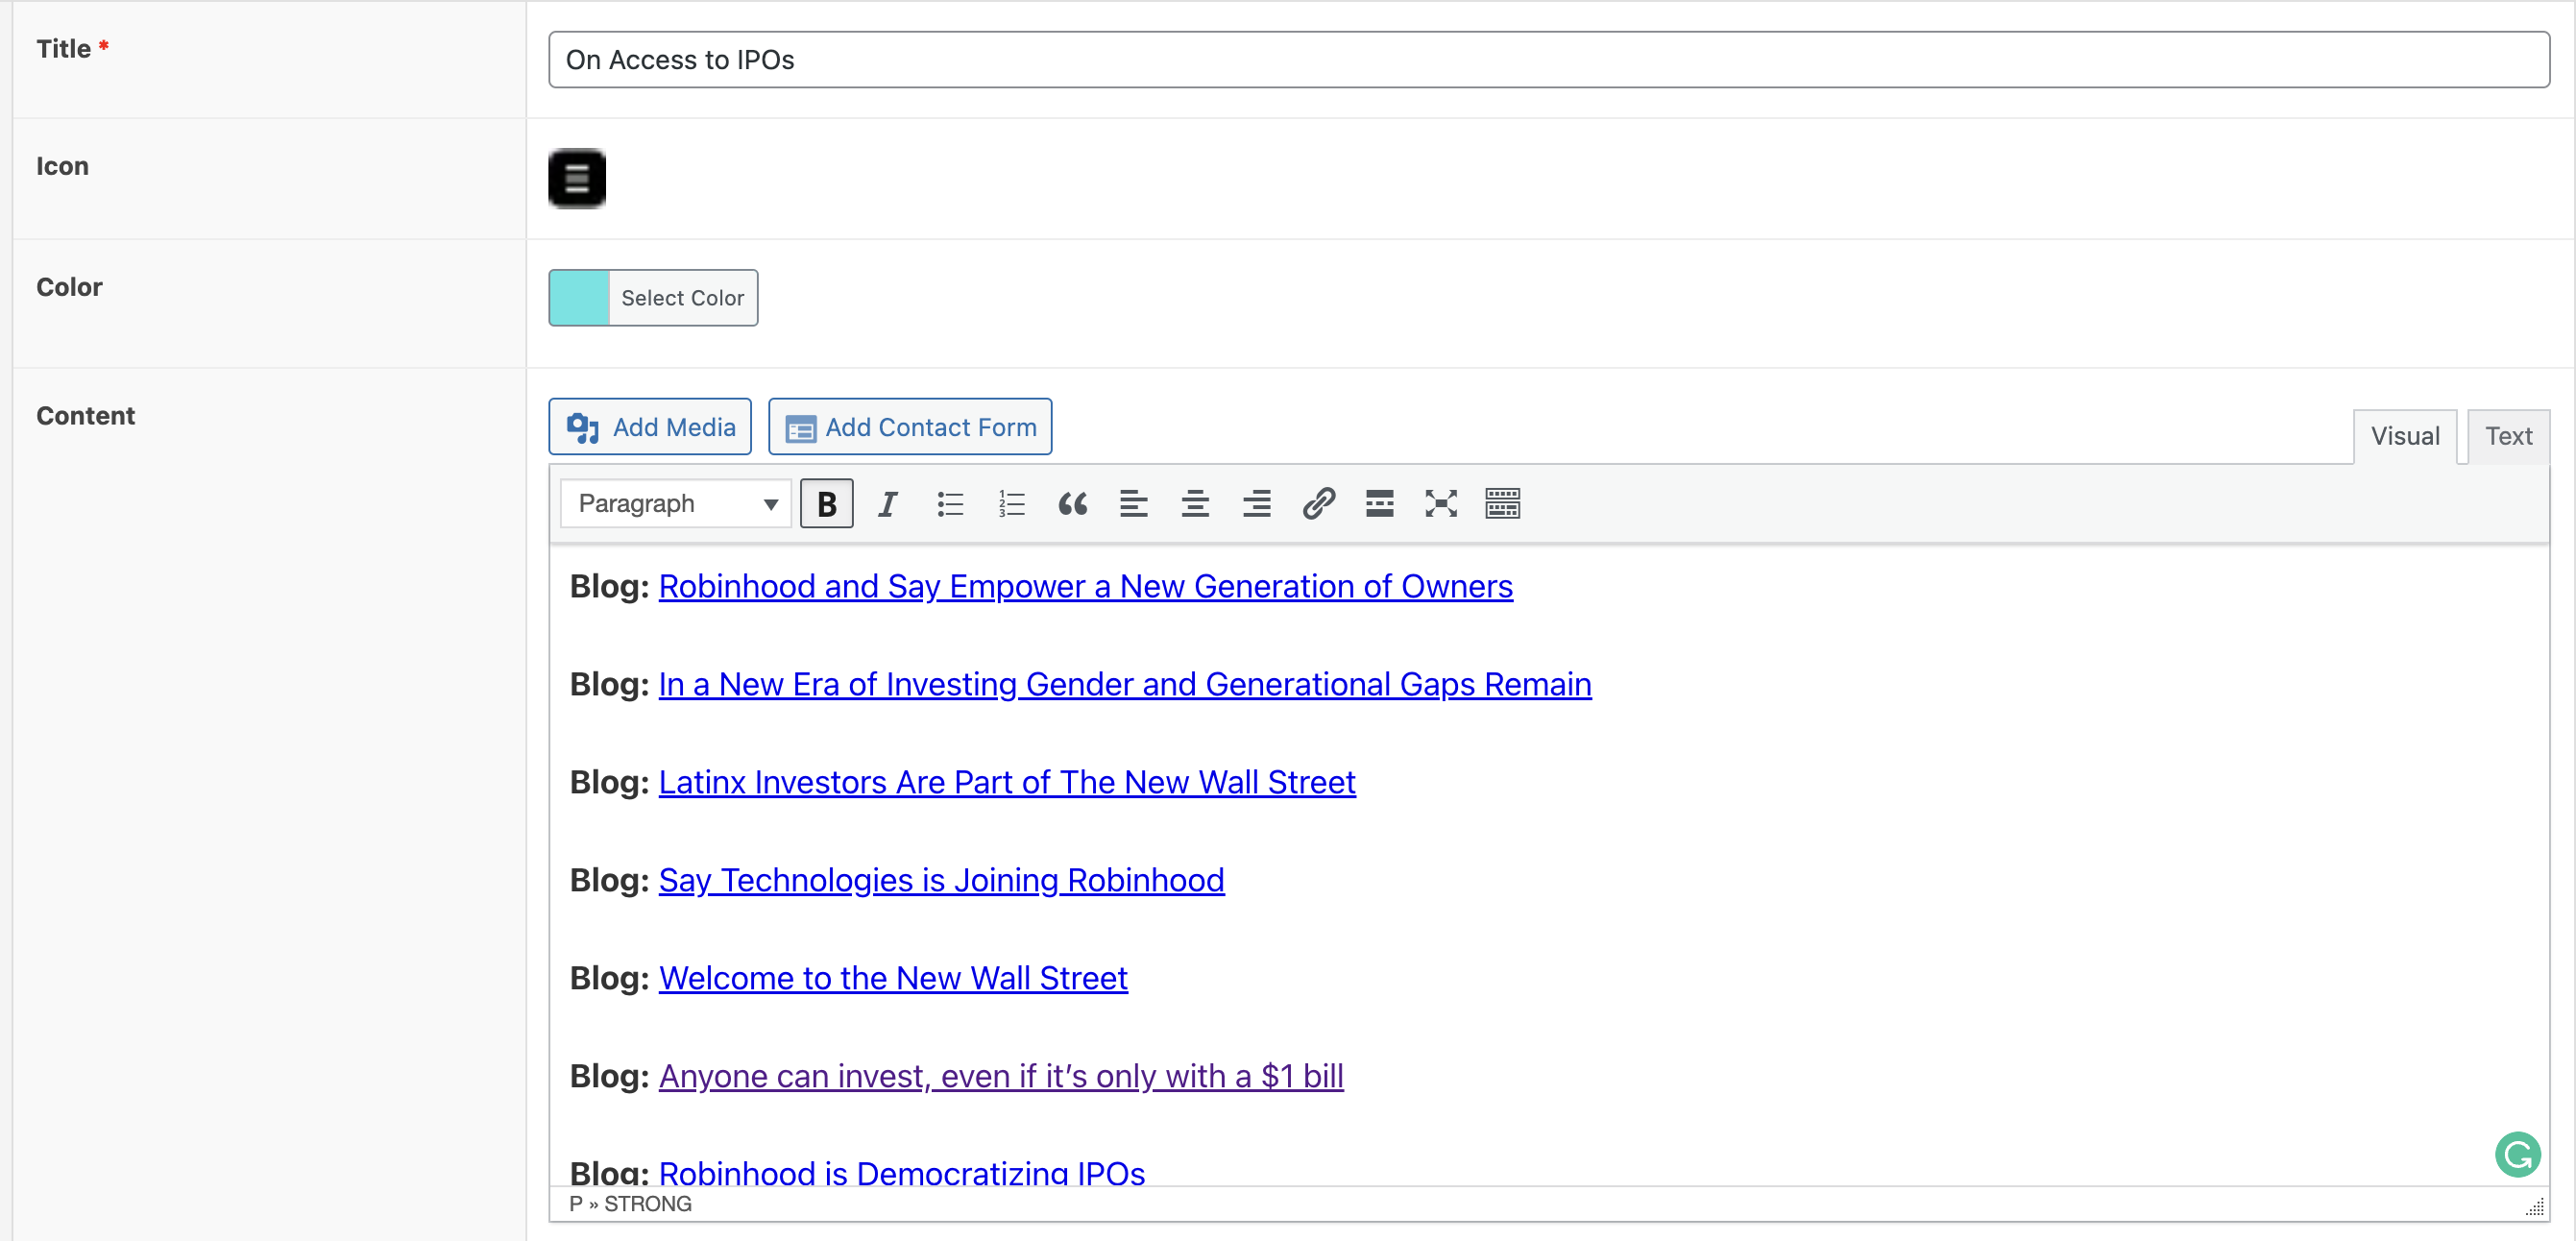
- Use the free text editor to put any text in the content area.
- Find the button “Add Resource Group” at the bottom. Each resource group is responsible for making one resource box. Pictured here are 2 resource boxes.
- You can reorder the policy itself by dragging each post under “Policies”. Do NOT use the “re-order” menu.
General support options
Ongoing, you will be using WordPress VIP for your hosting solution. You can reach them for support via the methods outlined in their support documentation.